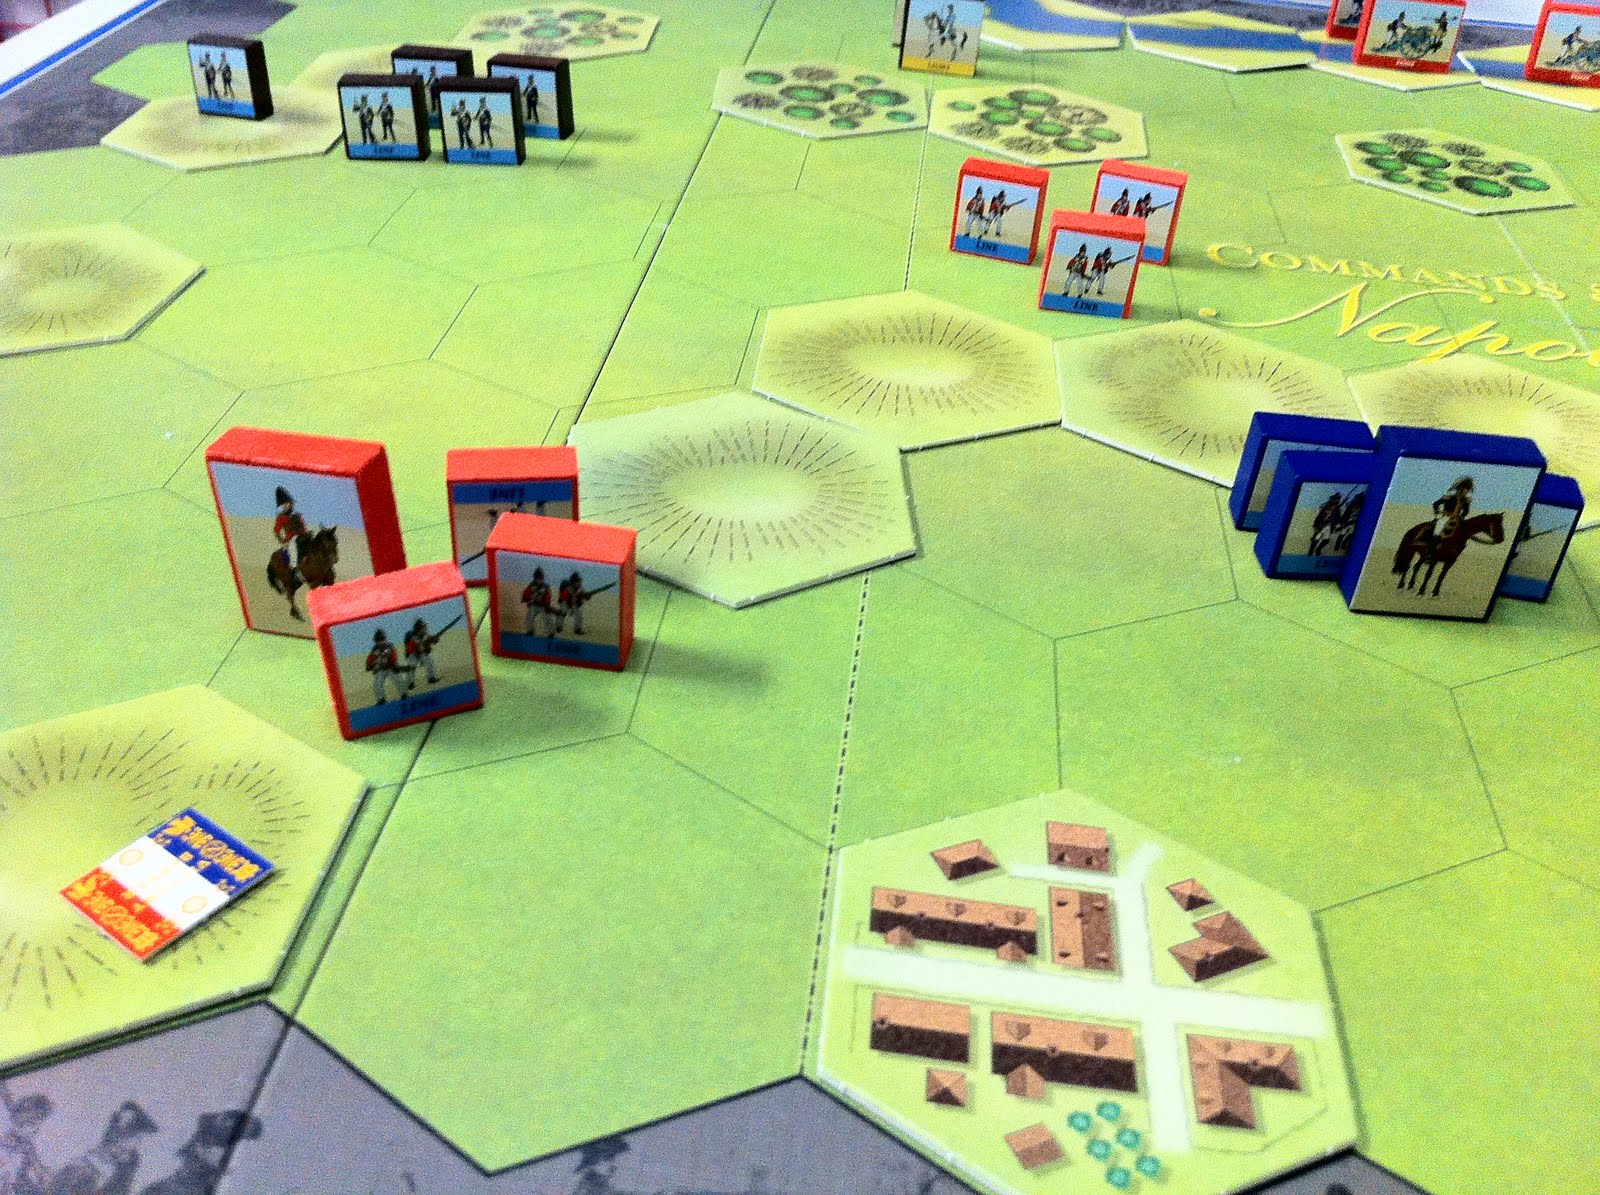
Wellesley leads a dash for an objective flag. He'll get it, but won't stay long. In the end he emerged victorious without it. Photo courtesy Glen Cote
With the help of Glen Cote I got the eagerly anticipated opportunity to break in the new Commands & Colors: Napoleonics from GMT today and was not disappointed. It's definitely a great game.
It's the most involved game in Borg's series, although not by much. It reminds me most of Commands & Colors: Ancients in that there are a lot of subtle unit differences to consider and use of the player aid chart will be constant during the early going. But I expect fans will play this one enough that they'll internalize the numbers before long.
We played matches of the first two scenarios in the scenario book, two battles based on the morning and afternoon actions at Rolica in 1808 -- a total of four games in less than 4 hours!
We were aided in this by the fact that the OBs in the two scenarios are nearly identical so the only thing we had to chance was the terrain.

The morning battle depicts Sir Arthur Wellesley ( the future Duke of Wellington) advancing on a smaller French force that is attempting to delay him. In the historical fight the French fell back after being outflanked. In our first game with me as the French I jumped out to an early 4-0 lead in the race for five flags due in large art to a British bayonet charge against the French left flank that was met disaster as it failed to do much damage and was followed by a French bayonet charge in return that destroyed most of the British and Portuguese attackers. Glen was able to roar back, however, scoring five consecutive flags to seize victory from the jaws of defeat.
When we switched sides my Wellesley led a breakthrough in the same sector where Glen's had come to grief, making it all the way to the French left flank objective hex for the 4th flag! Glen removed that threat by the well-timed play of a Short Supply card that sent Wellesley and his accompanying infantry back to the base line for more bullets. This ended up just postponing the end, however,a s the British were able to get the 4th and 5th flags in other sectors for a 5-3 win.
So the British won twice.
 Next we tried the afternoon battle, where Wellesley attacked a new French position through a series of gullies that channeled and restricted the attack. Historically British elan carried the day, but elan fell short for our British twice. In the first game I had the British (I was already on that side of the board from the last game). I tried to move up my guns but Glen's French were aggressive and came off the ridge line to attack the British spearheads in detail. At the end of the day the French were able to get to their 5 flags while only losing 2 or 3 to the British. When we switched sides it was much the same story except the French were even more fortunate in their combat effectiveness as Glen decided to forgo gunnery and rely on cold steel to carry the heights. Once again the French aggressively moved forward and the end was even more lopsided this time, with a 5-1 win for the French. Two French wins in that scenario, which does look tough for the British, frankly.
Considering the essential simplicity of the game system it managed to capture the feel of Napoleonic warfare very well. In particular there were a lot of cases of back-and-forth exchanges of key terrain positions such as ridges and villages. The rules for forming square work in an interesting manner that definitely involve some interesting choices, especially for lower-quality armies, because each square that is formed take a command card out of action for the duration of the square and reduces the hand of command cards by one.
It was an excellent introduction to the system and I can hardly wait for more.
Seth,
ReplyDeleteHow does C&C:N compare to Napoleon's War: 100 days?
I plan to write up a comparative review when I get a chance.
ReplyDelete