Showing posts with label Napoleonics. Show all posts

Thursday, January 3, 2013

I Am Napoleon


I am Napoleon!

Or at least, I was "Napoleon" for the duration of a fascinating year-long PBeM campaign run by my good friend and decades-long wargamer buddy, Dr. Harvey Mossman.

An excellent preview of the campaign, from the perspective of one of the corps commanders is viewable here. This excellent journal by Marshal Davout allows me to discuss the campaign without tooting my own horn too much.

Oh, yeah. I won.

(Napoleon can't be humble, you know.)

This sort of thing can be among the most rewarding wargame experiences ever. They are hard to pull off, not least because they require an extraordinary amount of work and dedication by the umpire/GM/organizer. How Harvey, a practicing medical doctor, found the time to do this, I'll never know.

I've played, literally thousands of board wargames since I started the hobby back in 1969. I only recall a few. And I've probably played in a hundred or so miniatures games in that time. I remember a few of those as well.

But I remember every one one of the few free kriegsspiels I've taken part in. They're so absorbing that they become as much a part of your life as that great vacation you took, that fun club you were in, that demanding college course, special dates you went on, your favorite birthdays.

I took part in another Napoleonic campaign once. I was the Prince of Orange in a Waterloo campaign that used the old AH map but Trevor Dupuy's QJM method for combat. We lost. I was the Japanese commanding admiral in a naval kriegsspiel based on a carrier battle that might have happened around Wake Island in 1941. I won that one. I ran a modern naval scenario using the Harpoon 4 rules to manage a large submarine battle between Soviet and NATE subs under the Arctic ice cap.

As a wargamer, the first principle to remember is to forget everything you know about wargames as much as you can. It's a completely different experience. You don't know the rules, for one thing. You certainly don't know much about what's going on -- and the enemy side is not the only mystery.

As Napoleon I had to steel myself for operating in an extremely murky environment. This is far more realistic than any other wargame experience you might have -- even taking part in a normal umpired or double-blind game. Yes, if you play Axis & Allies double blind you may be surprised -- but you at least know the rules. Not so in this case. All we had to guide us was general historical experience. The exact mechanics of the rules, combat resolution and movement were not shared.

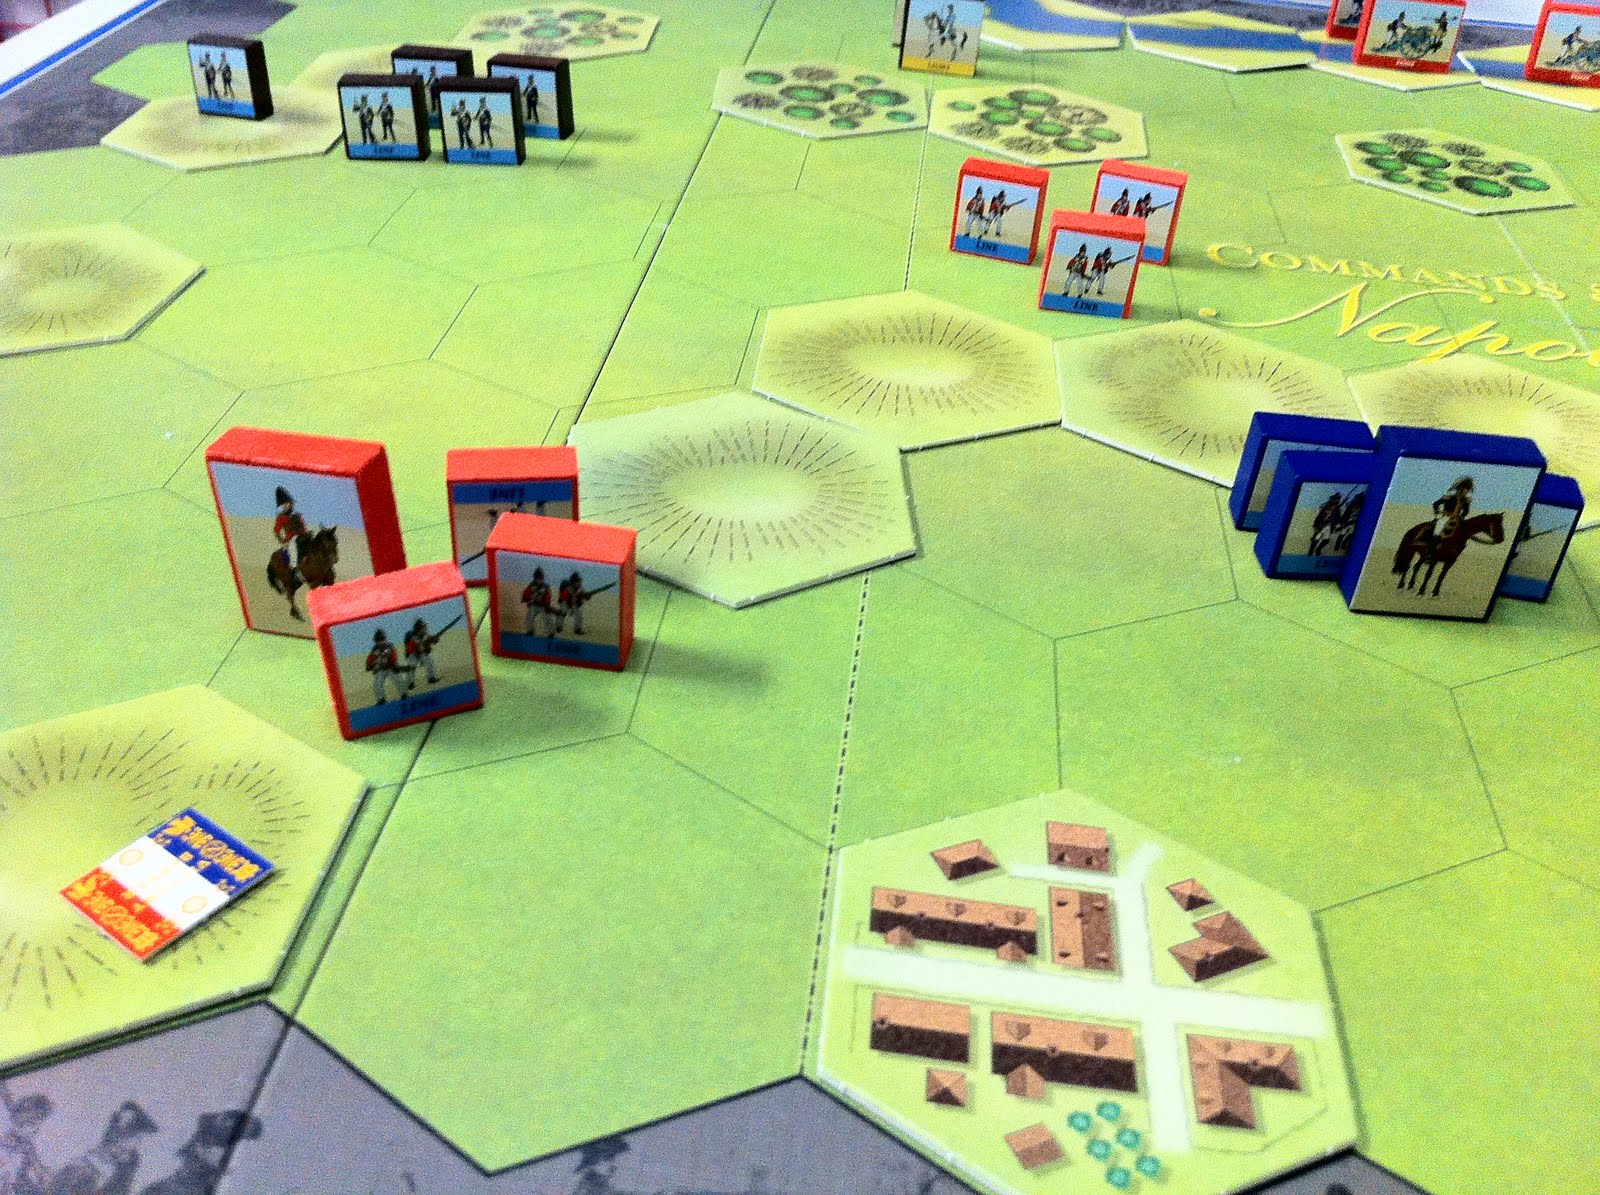
The specific campaign that we refought was the 1806 campaign that led historically to the battles of Jena-Auerstadt. Naturally things played out somewhat differently this time, but perhaps not as differently as one might have expected. Once again it appears the campaign culminated in twin battles -- in this case Jena-Gera.

In part this was because I decided that the real Napoleon's strategic judgment was correct and so I endeavored to try to achieve a similar result. While I had the advantage of hindsight, however, so did my opponents, and I was afraid a simple recreation of Napoleon's historical approach would be too easily countered. So I decided to try to mask the fact I was copying the master by some initial feints and counter-marches.  I'm still awaiting Harvey's debriefing, so I don't know for sure how well that all worked -- but he has indicated that it had less effect at the beginning than I might have hoped but the effects proved much longer lasting than expected.

While I imitated Napoleon's strategy, my model for command style was more Ulysses S. Grant. While many of the corps commanders were frustrated at times at what they saw as a reticence to share intelligence and lay out detailed plans, I felt the end result vindicated my approach. The reality was that, due to the limitations of Nineteenth Century Command Control and Communications, anything I passed on to subordinate commanders was likely to be so outdated as to be positively unhelpful. By the time a report got to me at GHQ, it would be between 6-24 hours hold. Sent back down it would be another 6-24 hours old by the time the corps leader saw it. If the information was only 12 hours old it might be useful -- but if it was 48 hours old it was more likely to mislead than inform.

Likewise with my plans. As it was, I ended up sending out some confusing orders and counter orders despite my best efforts to avoid falling into the trap implied by the formula: Order + Counter-order = Disorder. I don' t think it happened too often, but had I attempted to micromanage or explain in explicit detail every step of my thinking or the evolution of my plans in real time I think it would have been a real mess at the receiving end.

Instead I preferred to let the subordinate commanders use their best judgement based on the facts on the ground as they saw it with some general guidance on my part. In fact, I had no explicit plan. Aside from a general line of advance and the hope I could achieve a good central position when contact was made, my plan was basically to keep everyone well in hand and in supporting distance so that when contact was made, nobody was in danger of being overwhelmed. And that's how it worked out -- which is immensely satisfying.

As I noted, we haven't had the "Great Reveal" yet, so I don't know what happened on the other side of the hill except for a few hints from Harvey, my own observations and the insight we derived from a single intercepted message. It appears, however, that the Prussians allowed themselves to become too spread out to properly react to the changing situations. It appears, based on what positions were reported to me, that some important parts of the Prussian army were not present on the battlefield when it counted. During the climactic battle on the last day, in contrast, every French Corps -- all eight of them -- were engaged. I viewed achieving that as my job as the overall CinC. How well they fought was up to the corps commanders, but I believed that I had put them in a position to win.

I'll say more once the the "Great Reveal" happens. I'm not  a big one about the Ws and Ls. I'm much more focused on just enjoying the process when I game. I don't denigrate winning, but it is really just one part of gaming for me. I will admit, however, that winning this sort of game is very, very satisfying. It appears I was blessed with no troublesome subordinates and I was rewarded for putting them in a position to win with an actual victory. But even had the battle gone the other way, I felt that I had done my part.

Wednesday, January 19, 2011

Waterloo sessions round 2 -- Commands and Colors Napoleonics this time


The second in a series of battles between Game Store Tony and yours truly covering the same historical ground (The I corps sector at Waterloo) using three different recent games, in this case Commands & Colors: Napoleonics.

Once again I took the part of the French and again my pregame plan was to make my main effort on the right, avoiding Hougoumont. In C&C:N, of course, you can have all the plans in the world, but if you don't have the cards you can't pull it off. As it happened, though, I DID get the cards.

After some back and forth bombardment that went all the French way (the exposed Dutch unit was eliminated despite pulling back to the ridge and the Britsh guns were reduced to one block and forced to retreat behind the ridge for safety) I started my move on the right with the right flank units stiffened by the Young Guard. Tony was no Wellington was was clearly unwilling to wait patiently for the French and the two side clashed in front of the ridge. Meanwhile another Dutch brigade made a foray around Hougoumont as well, although that came to a bad end from close-range French cannon fire.

The battling was bloody but the Young Guard settled into Papaeotte and refused to be moved out of it, leaving the French with a 6-4 edge in flags. Tony decided he had to pull back his decimated troops on that flank. With the pressure eased there was time for Napoleon to play Le Grande Maneuvre to move up several fresh units including, critically, the Guard Heavy Horse. The following turn the Guard Horse crashed into some Dutch light horse using the Cavalry Charge card. The poor light horse hardly knew what hit it as the French rolled SEVEN dice (4 blocks +1 French Guard +2 Cavalry Charge ) and three sabers wiped them out for Flag No. 7. The breakthrough took the Guard straight into that one-block British artillery unit behind the ridge and unsurprisingly it, too, couldn't deny a seven-die attack. Flag No. 8 and victory for the French again!

Thursday, December 9, 2010

Breaking in Commands and Colors Napoleonics in a big way


Wellesley leads a dash for an objective flag. He'll get it, but won't stay long. In the end he emerged victorious without it. Photo courtesy Glen Cote


With the help of Glen Cote I got the eagerly anticipated opportunity to break in the new Commands & Colors: Napoleonics from GMT today and was not disappointed. It's definitely a great game.

It's the most involved game in Borg's series, although not by much. It reminds me most of Commands & Colors: Ancients in that there are a lot of subtle unit differences to consider and use of the player aid chart will be constant during the early going. But I expect fans will play this one enough that they'll internalize the numbers before long.

We played matches of the first two scenarios in the scenario book, two battles based on the morning and afternoon actions at Rolica in 1808 -- a total of four games in less than 4 hours!

We were aided in this by the fact that the OBs in the two scenarios are nearly identical so the only thing we had to chance was the terrain.


The morning battle depicts Sir Arthur Wellesley ( the future Duke of Wellington) advancing on a smaller French force that is attempting to delay him. In the historical fight the French fell back after being outflanked. In our first game with me as the French I jumped out to an early 4-0 lead in the race for five flags due in large art to a British bayonet charge against the French left flank that was met disaster as it failed to do much damage and was followed by a French bayonet charge in return that destroyed most of the British and Portuguese attackers. Glen was able to roar back, however, scoring five consecutive flags to seize victory from the jaws of defeat.

When we switched sides my Wellesley led a breakthrough in the same sector where Glen's had come to grief, making it all the way to the French left flank objective hex for the 4th flag! Glen removed that threat by the well-timed play of a Short Supply card that sent Wellesley and his accompanying infantry back to the base line for more bullets. This ended up just postponing the end, however,a s the British were able to get the 4th and 5th flags in other sectors for a 5-3 win.

So the British won twice.

Next we tried the afternoon battle, where Wellesley attacked a new French position through a series of gullies that channeled and restricted the attack. Historically British elan carried the day, but elan fell short for our British twice. In the first game I had the British (I was already on that side of the board from the last game). I tried to move up my guns but Glen's French were aggressive and came off the ridge line to attack the British spearheads in detail. At the end of the day the French were able to get to their 5 flags while only losing 2 or 3 to the British. When we switched sides it was much the same story except the French were even more fortunate in their combat effectiveness as Glen decided to forgo gunnery and rely on cold steel to carry the heights. Once again the French aggressively moved forward and the end was even more lopsided this time, with a 5-1 win for the French. Two French wins in that scenario, which does look tough for the British, frankly.

Considering the essential simplicity of the game system it managed to capture the feel of Napoleonic warfare very well. In particular there were a lot of cases of back-and-forth exchanges of key terrain positions such as ridges and villages. The rules for forming square work in an interesting manner that definitely involve some interesting choices, especially for lower-quality armies, because each square that is formed take a command card out of action for the duration of the square and reduces the hand of command cards by one.

It was an excellent introduction to the system and I can hardly wait for more.

Sunday, December 5, 2010

And the stickering is complete

Now to move on to playing!

First, though, let me provide a quick out-of-the-box review. This game is very comparable in presentation with the latest versions of Commands & Colors: Ancients. It comes in the patented GMT "armored box" that should stand up to wargame handling for years with reasonable care. It has a mounted mapboard, as has become the practice for GMT's bigger-selling games of late.

There are, of course, plenty of blocks and stickers of the usual high quality. Not much to say about those expect that it is a time-consuming task to apply them all and a bit frustrating for the clumsy like me. The terain tiles are also similar to what we've seen in CCA.

There is a profusely illustrated full color rule book and a likewise color scenario book with 15 scenarios. I felt this was a little on the light side. I would have liked to see a couple more battles but I'm sure future expansions will get the CCN count up into the triple digits like Memoir '44 and CCA soon enough.

The dice are basically the same quality as the ones in CCA and also require the application of stickers.

There are also four player aid cards with national and unit characteristics as well a a couple of cardboard displays for units that are in square. Not sure yet how that will work. This is a new mechanic in the Borg universe.

Finally there are the command cards. These are high-quality stiff glossy cards similar to the latest versions included in CCA. There is one rather embarrassing typo on one card -- the "Give Them The Cold Steal" card which, of course, should be Steel.

Overall I had a good first impression and I can hardly wait to get this on the table.